TOYOTA PRIUS
2023 Prius LE 8 to 12.3 Screen Swap
This is a guide on installing the 12.3" screen from the higher trim Prius models into the LE trim. Unfortunately for people like me who like the LE trim better because of the cloth interior, wheels, better MPG, and just better value for purchase, Toyota only offers the smaller 8" infotainment screen. This is a plug-n-play infotainment swap but there are a few things you need to be aware of. Credit to Ryan @ priuschat for providing a lot of this info for me prior to ordering and installing.
8" Screen vs 12.3" Screen
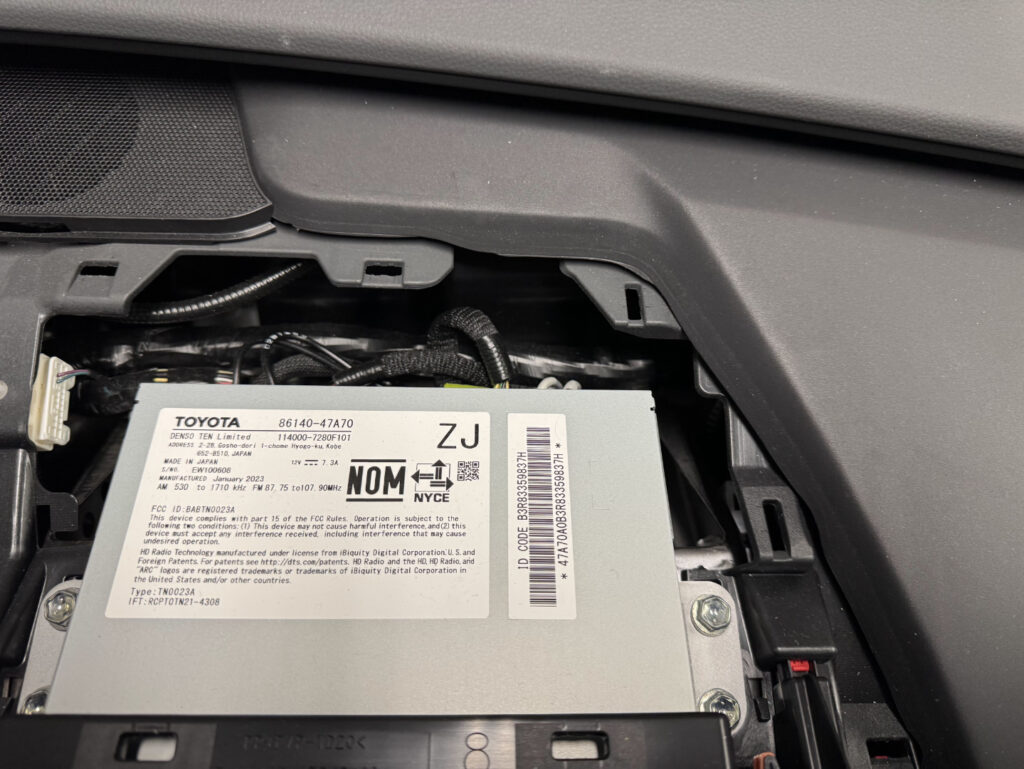
There are two serial number types for the 12.3" screen:
-
12.3" equipped in the Prius Limited is: 86100-47860
IMPORTANT: The volume knob and a volume control on the steering wheel will not work on a LE model. This is because the JBL audio system uses an external amplifier that adjusts volume and audio tuning. -
12.3" equipped in the Prius XLE is: 86100-47850
This model is confirmed to work on the LE trim with all functions besides Toyota Connected Services functioning properly. This can be remedied with a call to Toyota Connected Services.
For options regarding buying the radio, you can buy it new from Toyota, but it is EXTREMELY overpriced and more than what you would pay for trading in for a higher trim model. I suggest checking junkyards for totaled Prius vehicles, or searching the serial on eBay for a unit pulled from a wrecked car. I got mine for around $900, much better than trading in for a higher trim Prius or paying $8000 from Toyota.

Step 1. Pull on the right end piece of the lower trim under the radio, it should pop out.
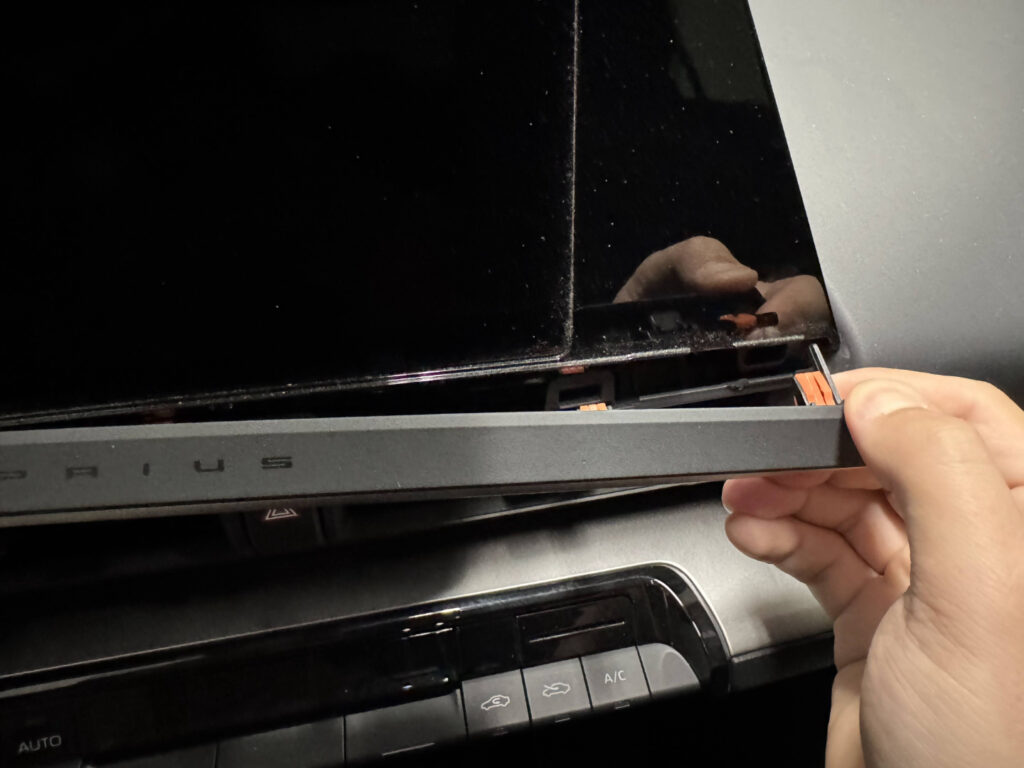
Step 2. On the right side of the front screen, pull back the trim piece and work your way down around the radio until it pops out.


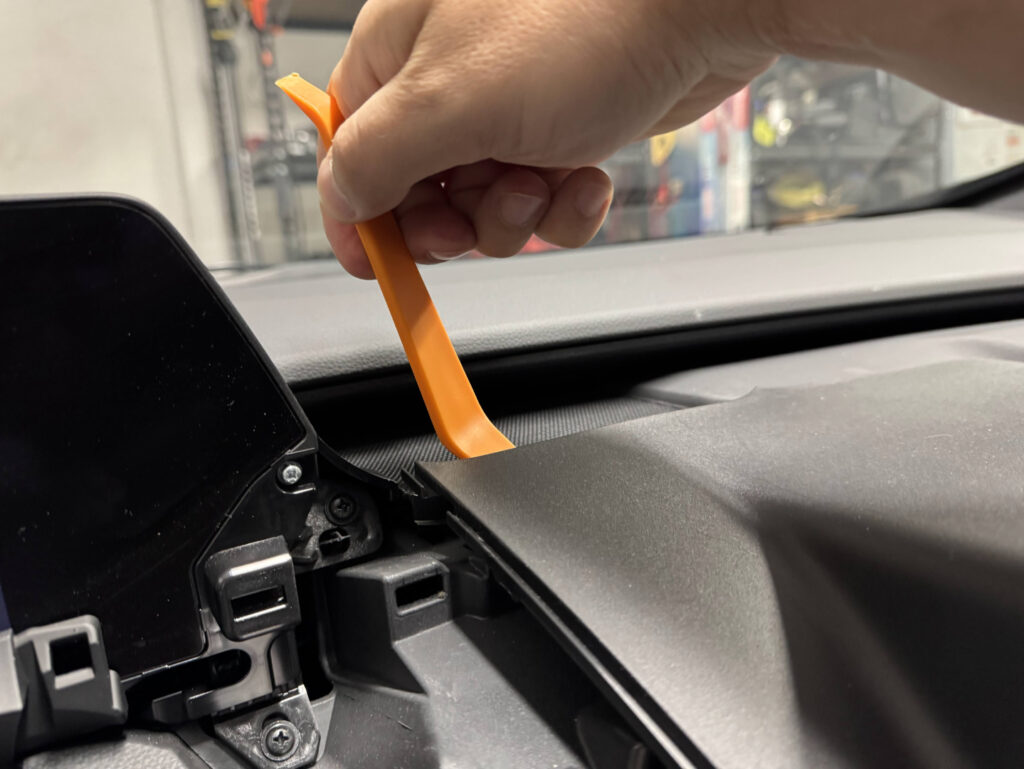
Step 3. Use a trim tool to push behind the trim behind the infotainment screen, then work right and down around the front.

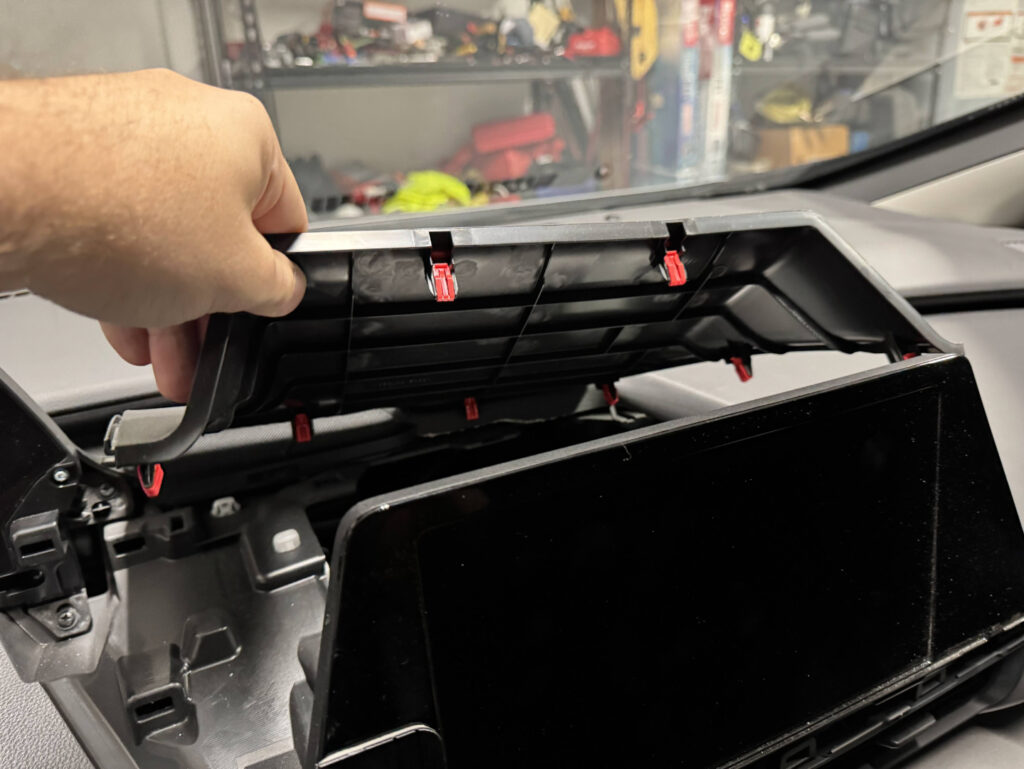
Now pull the left side of the trim up, ensuring all the clips around the edge release.
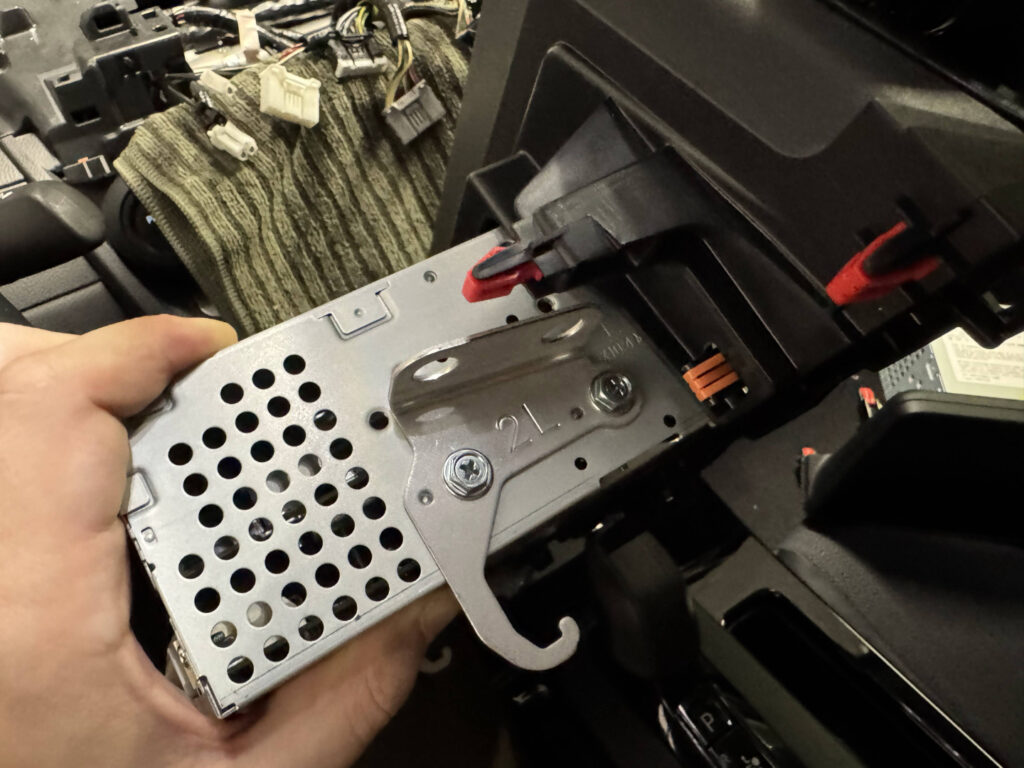
Step 4. After removing the back trim piece, remove the two 10mm bolts on each side of the radio DIM unit.
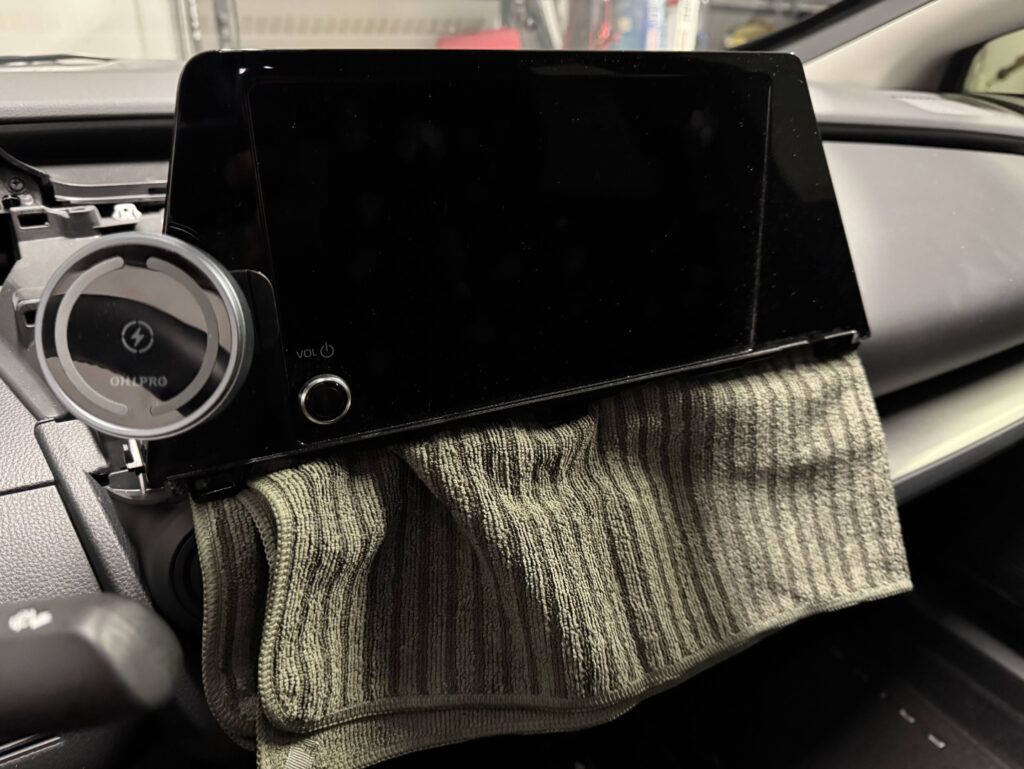
Step 5. After the 4 bolts are removed, pull the unit forward to release it. Place a towel over the climate controls to protect from scratches while removing harness plugs.

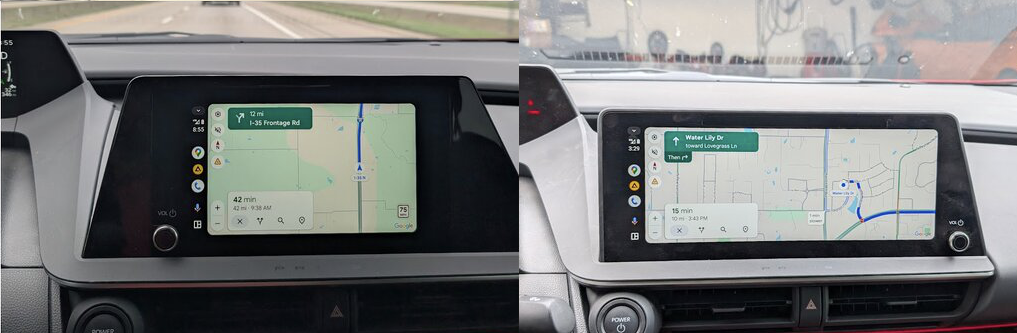
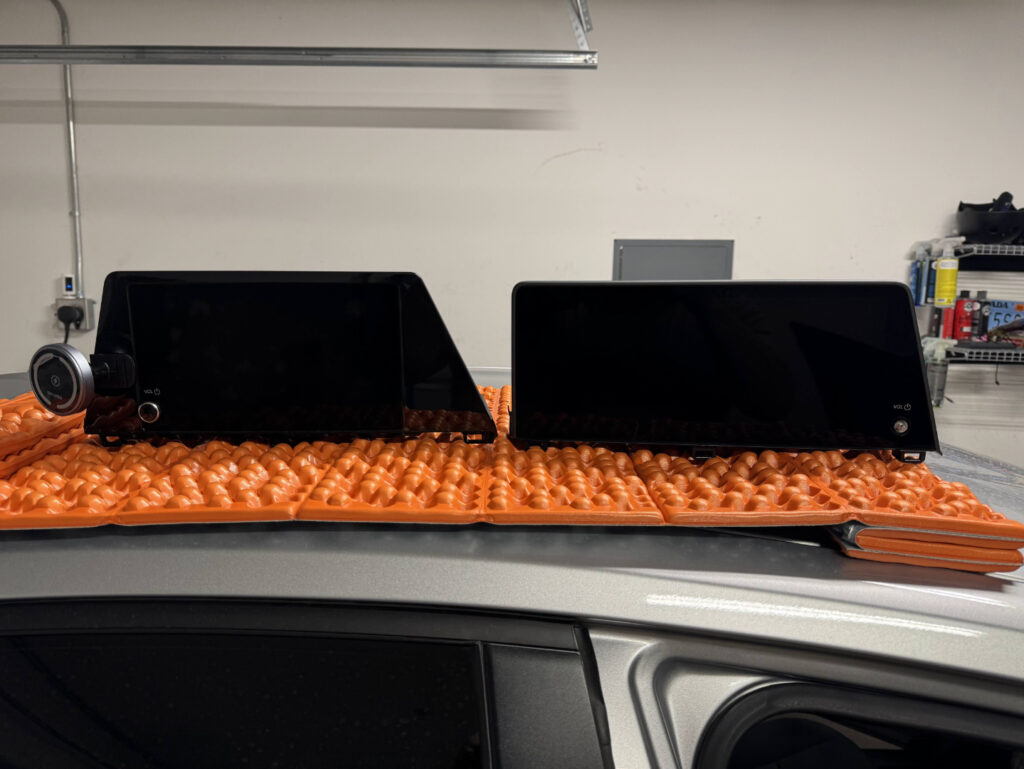
Side-by-side comparison of the stock LE screen and XLE screen:
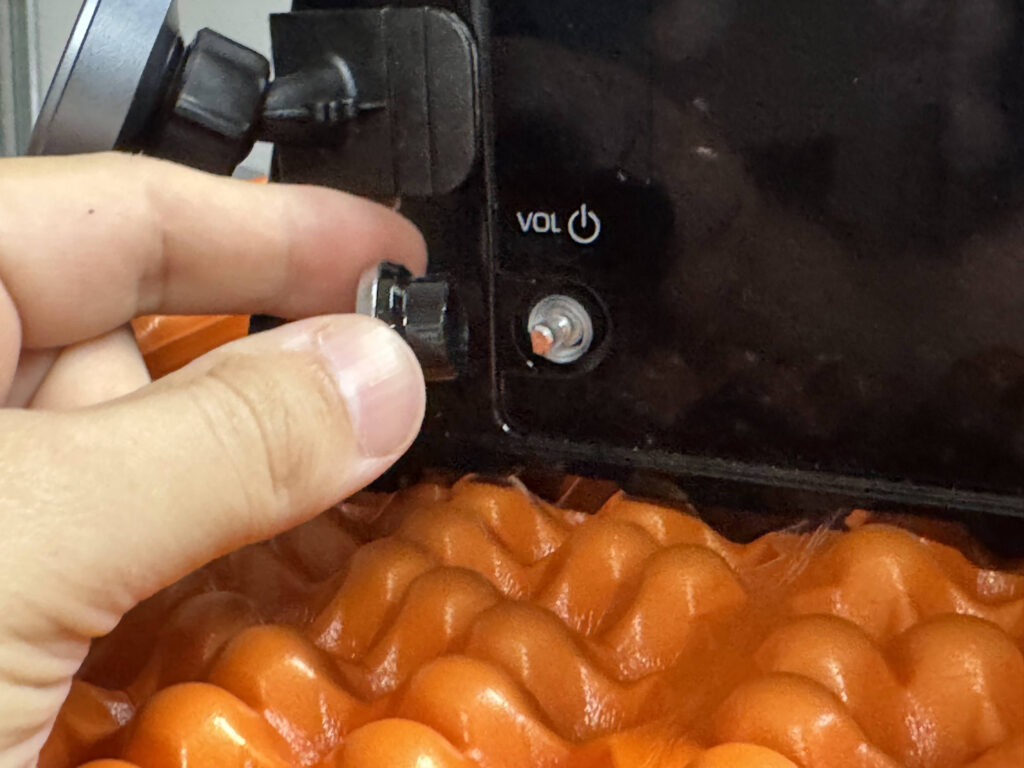
My screen did not come with a volume knob, but the knob appears shared across this Toyota generation. I reused the 8" knob on the 12.3" screen and it fit fine.
Step 6. Depending on your source, you may need to move the side mounting brackets to the new unit. Mine came without brackets. After comparing to LE brackets, they looked identical. They are left/right specific.
Step 7. Put the unit back on the towel, reconnect all plugs in the same order, reinstall the four 10mm bolts, snap all trim back in place, and power on.
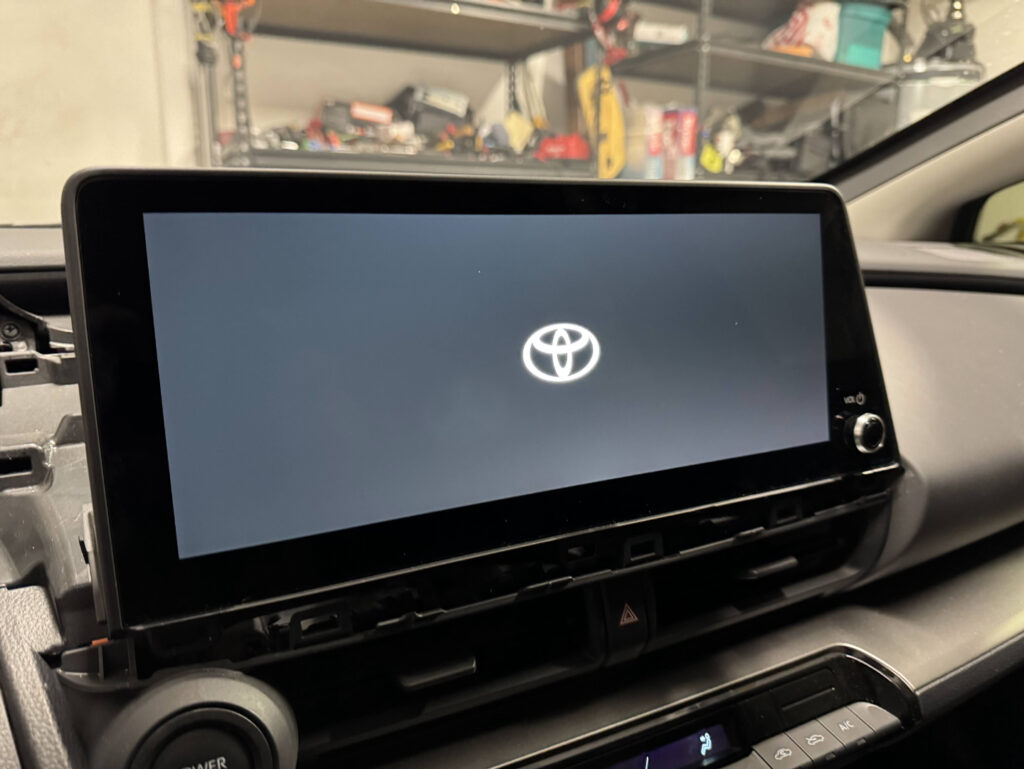
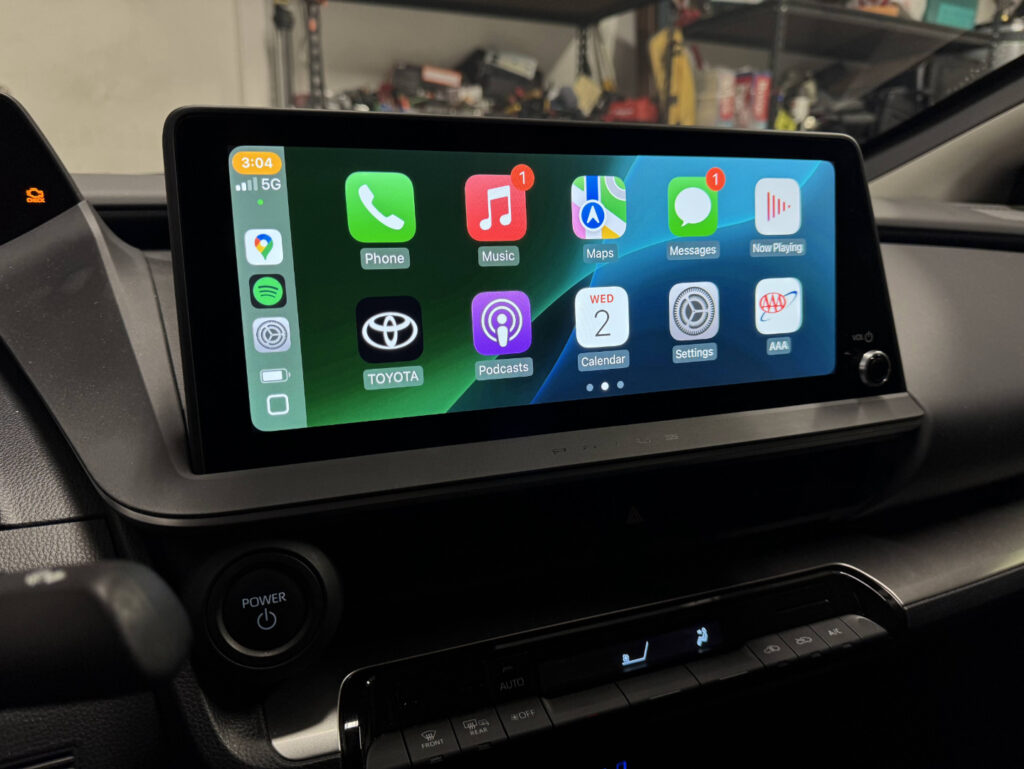
I suggest doing a factory reset in the radio if it still has the prior owner's Bluetooth profile. Then pair your phone and set up Apple CarPlay or Android Auto.